
What is Jomon pottery?
Jomon pottery is symbolic of the Jōmon period.
Jomon pottery refers to ceramics shaped and fired from clay during the Jomon period. The name “Jomon” comes from the “cord-marked patterns” applied to the surface of the pottery.
Jomon pottery features distinctive patterns and shapes depending on the period and region, providing clues to the culture and daily life of the time.
What represents the Jōmon period?
The defining features of the Jōmon period are “dwellings,” “pottery,” and “bows and arrows.”It is thought that a degree of settlement began, pottery enabled cooking, and the use of bows and arrows made it easier to catch animals farther away than before.
For those interested in learning about the Jomon period in general, we recommend visiting the following archaeological sites.


How It Was Made
Here’s how to make Jomon pottery!
I made Jomon pottery at a Jomon pottery-making class. After actually trying it, I realized making it entirely on your own isn’t very realistic. From preparing the clay to firing it, it requires technique, and getting all the tools and supplies ready is also difficult.
So, if you want to make Jomon pottery, I recommend searching for Jomon pottery-making events and joining one!
- 1Prepare the blueprints for the pottery to be made
- 2Make the pottery
- 3Apply patterns to the pottery
- 4Dry the pottery
- 5Fire the pottery
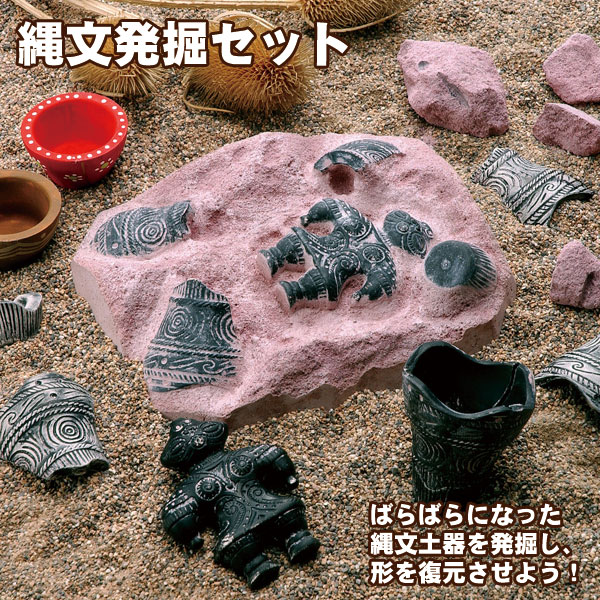
Alternatively, you might consider starting with a Jomon pottery excavation kit. It’s perfect for summer vacation projects!
Prepare the blueprints for the pottery to be made.
First, you need to prepare the clay. If you try to make it from scratch, it takes quite a bit of time: collecting the clay, drying it, then mixing clay, sand, and water and kneading it thoroughly.
This time, I used the clay prepared for us at the workshop. I start by preparing the blueprint for the pottery we want to make.
Prepare drawings showing the dimensions from the front and side views, and note down values that are 1.15 times each dimension.
The key point is to make it larger to account for shrinkage during firing!
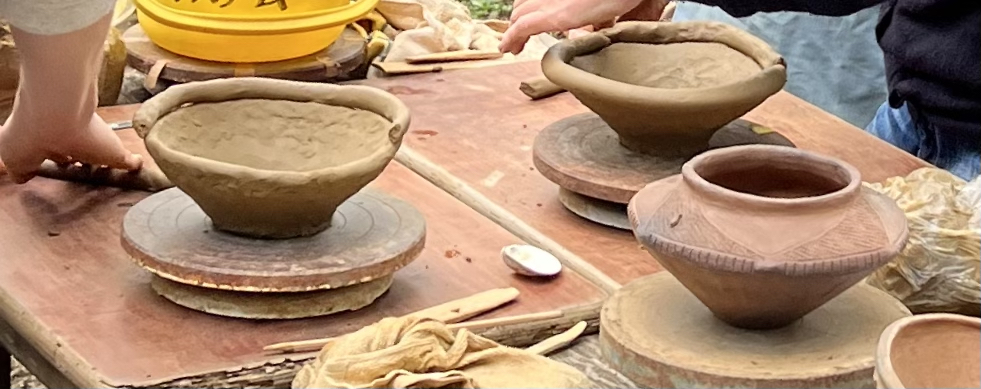
Make the pottery
There are three key points when making Jomon pottery!
Layering the coils, filling the gaps, and adding patterns!
For coiling, first create the base. Then, layer rolled clay coils one by one as shown in the photo, pressing them firmly into place with your fingers. If you leave too many gaps at this stage, it can cause cracking during drying and firing.
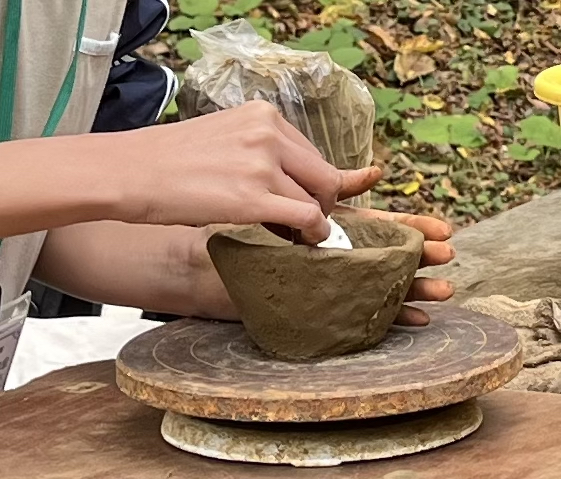
Watching the teacher make it, it looks surprisingly easy at first glance. But when you actually try it yourself, the clay dries out quickly and becomes hard to stretch, and over time, the top of the vessel sags outward under its own weight… it’s tricky.
While I was washing my hands, the teacher couldn’t stand watching any longer and gave it a thorough fix. It made me laugh.
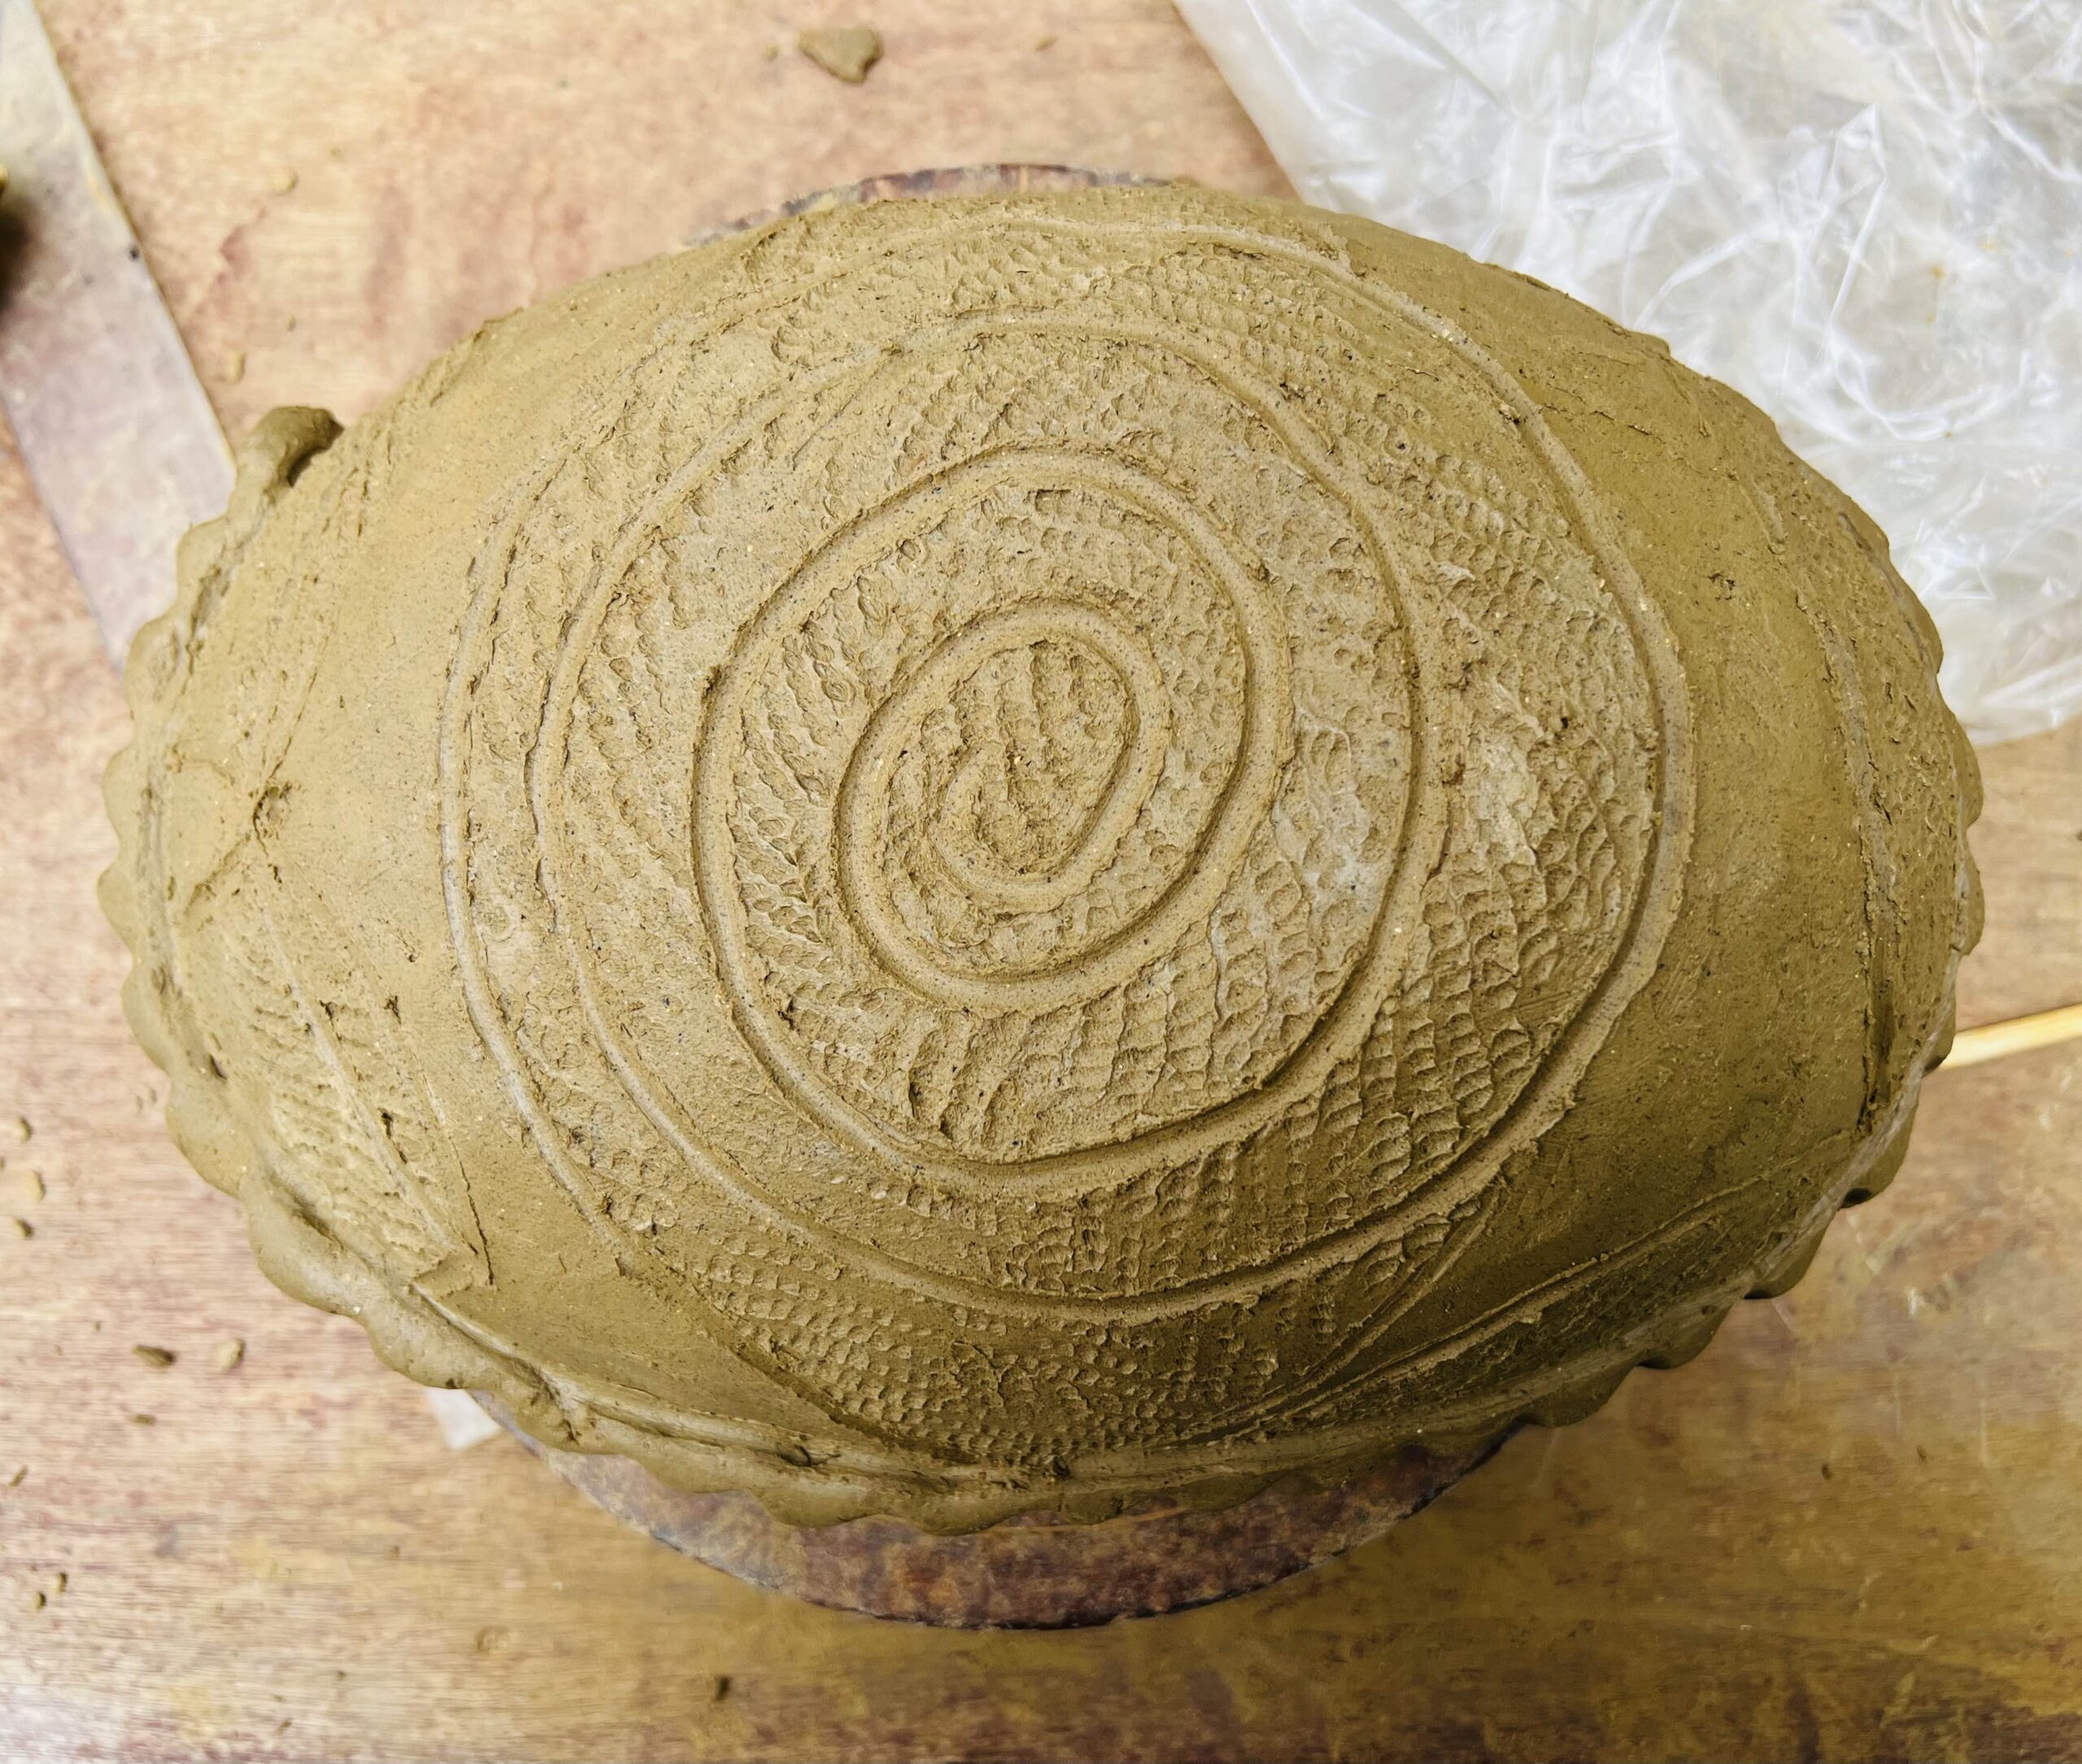
Apply patterns to the pottery
Once the shape is formed, the next step is to add patterns to the pottery.
The presence of cord-marked patterns is what defines Jomon pottery, so personally, this was the part I was most looking forward to.
Roll the Jomon cord-marking tool back and forth across the pottery to create the cord-marked pattern.
The pattern will appear reversed depending on the direction you roll, so if you want to replicate the sample exactly, you need to pay attention to the direction as well.
Unfortunately, I forgot to take a photo of the Jomon original body I used… If you want to learn more about the Jomon original body, I think this article explains it clearly.
Besides the Jomon original body, I also used bamboo sticks and shells.
Dry the pottery
Once the Jomon patterns are finished, allow them to dry thoroughly.
The drying process is also crucial. If the pottery contains too much moisture, it becomes prone to cracking during firing.
This time, I allowed about a month for thorough drying before firing.

Fire the pottery
When firing pottery, it’s crucial to remove as much moisture as possible.
So first, I build a fire pit and start draining moisture from the soil where the pottery will be fired.
Simultaneously, to gradually remove any remaining moisture from the pottery itself, I place the pieces away from the fire pit and slowly move them closer over time. This process took roughly two hours.
The pottery gets quite hot, so heat-resistant gloves are recommended for safety.

Next, place the pottery into the fire pit. This warms the pottery before the final firing and further draws out moisture. As it warms, the pottery gradually turns blacker and blacker.
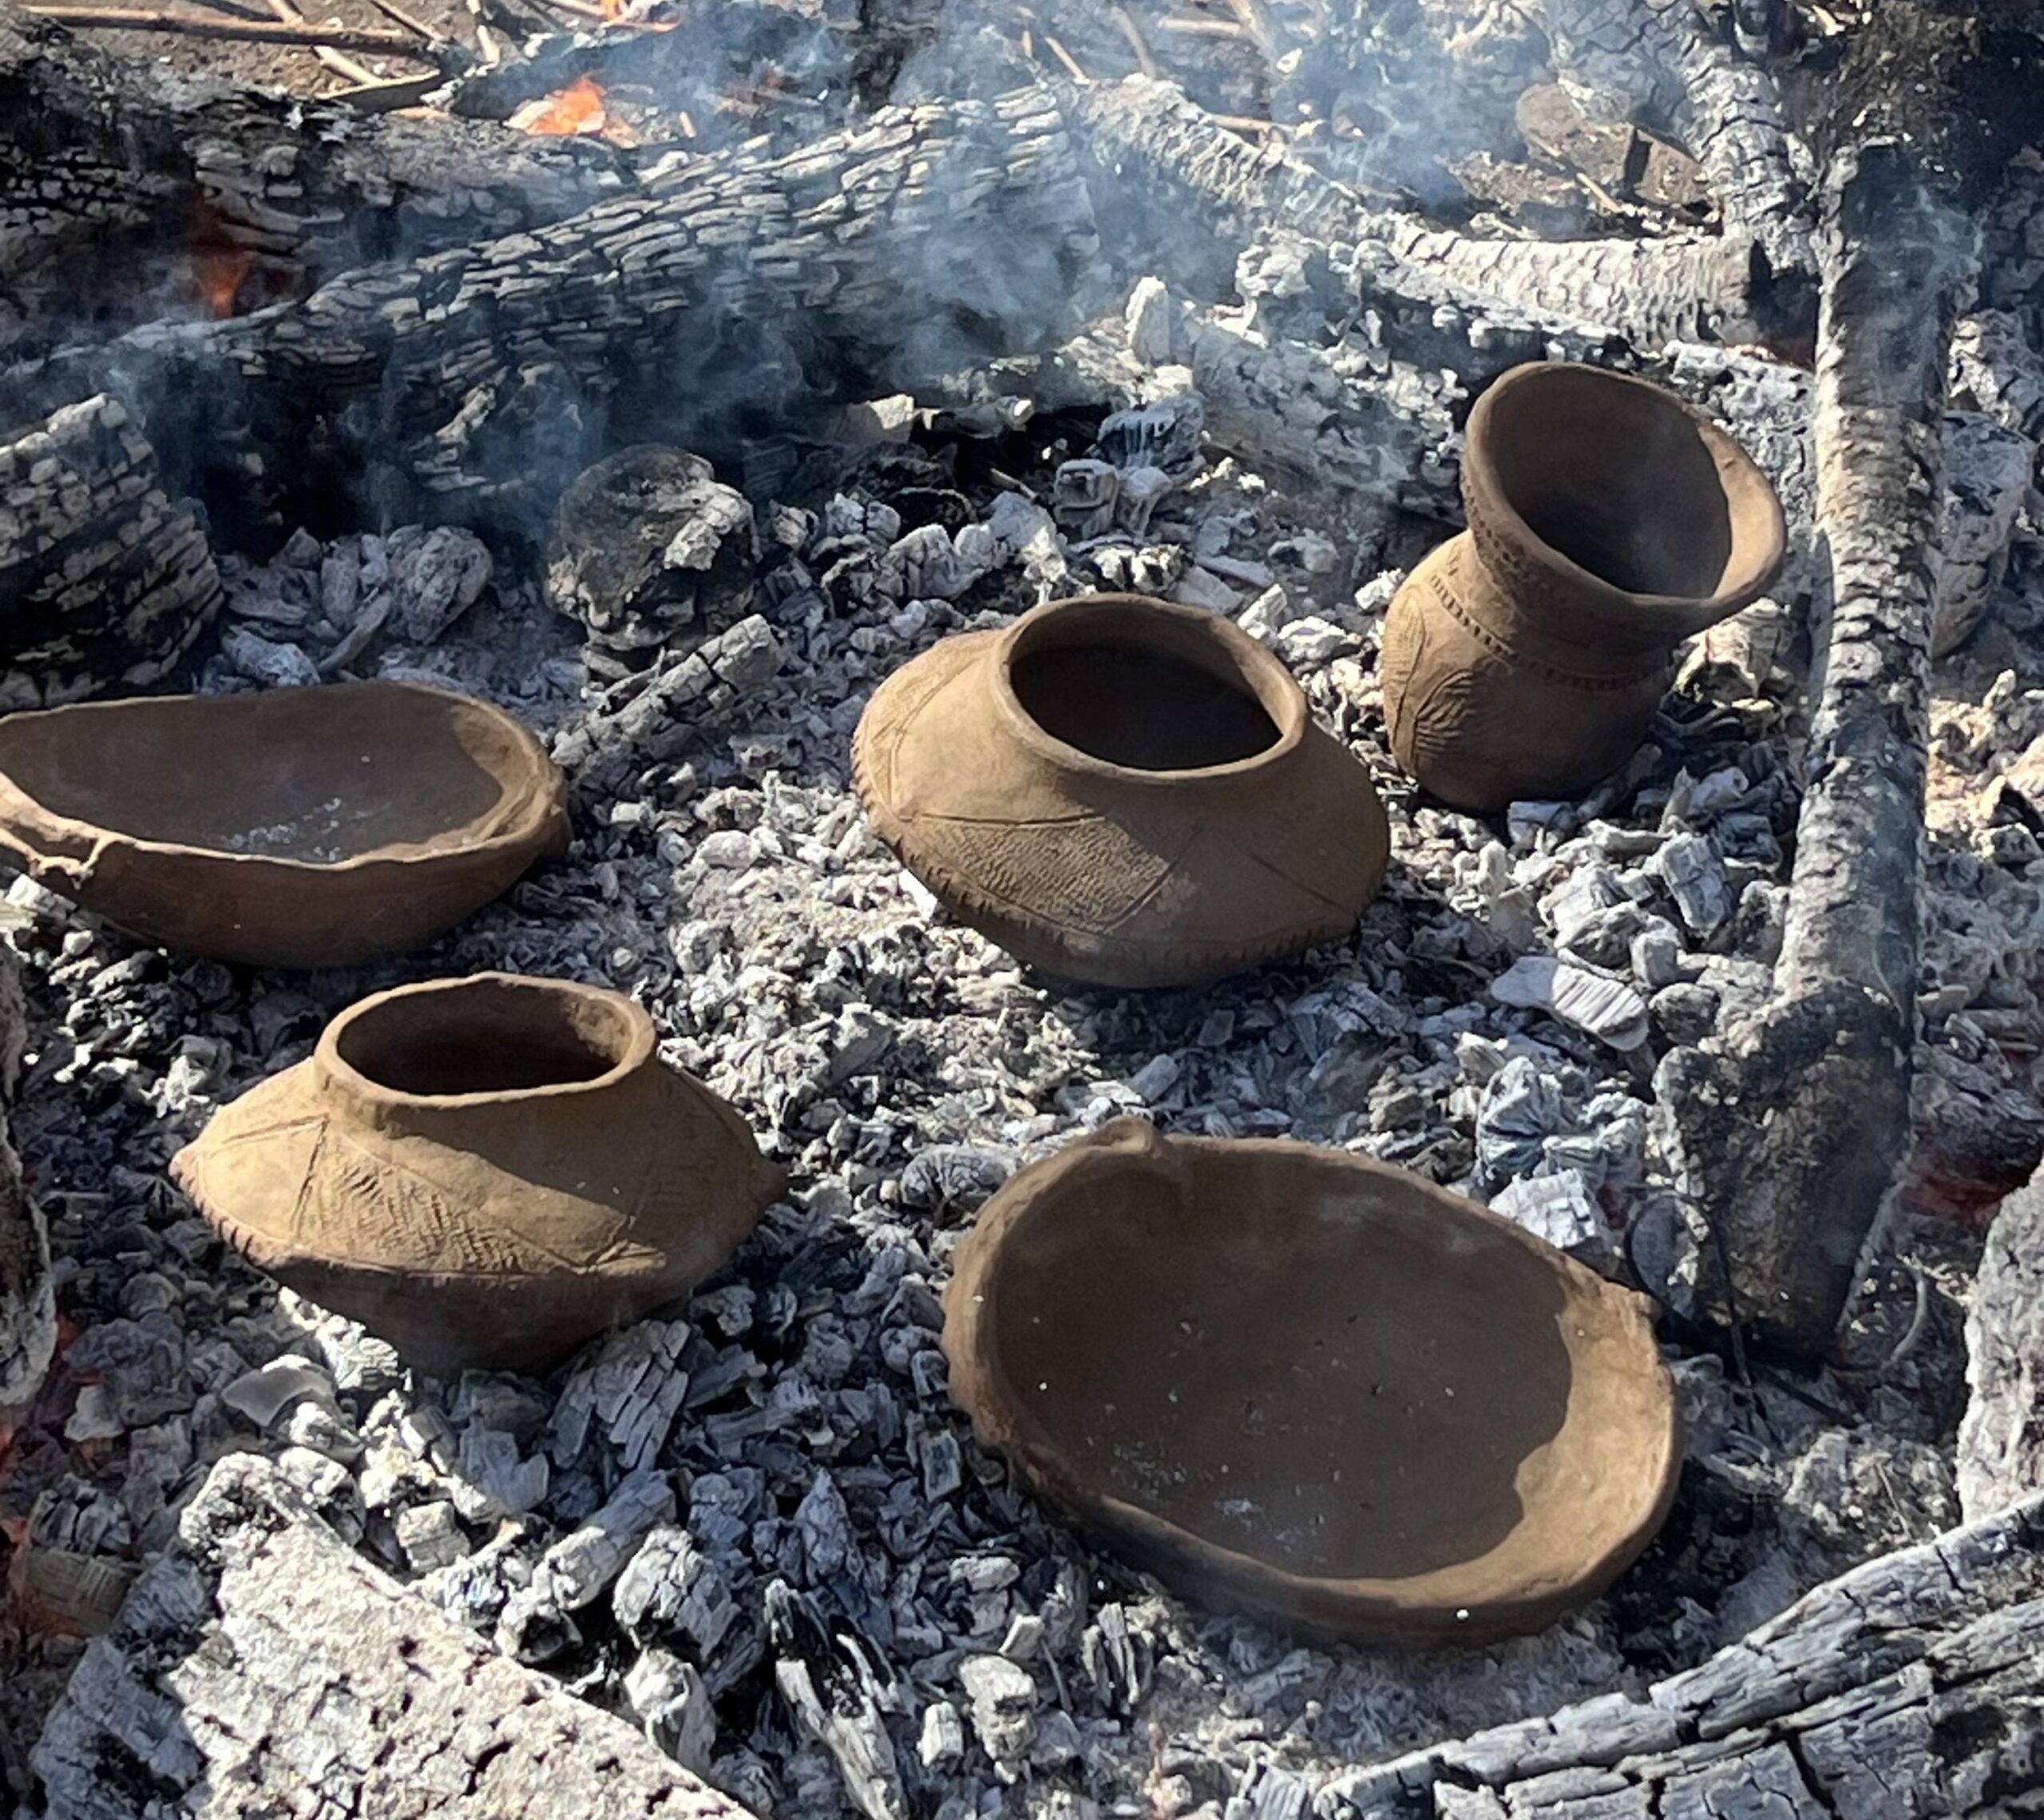

Carefully stack the firewood so it covers the pottery.
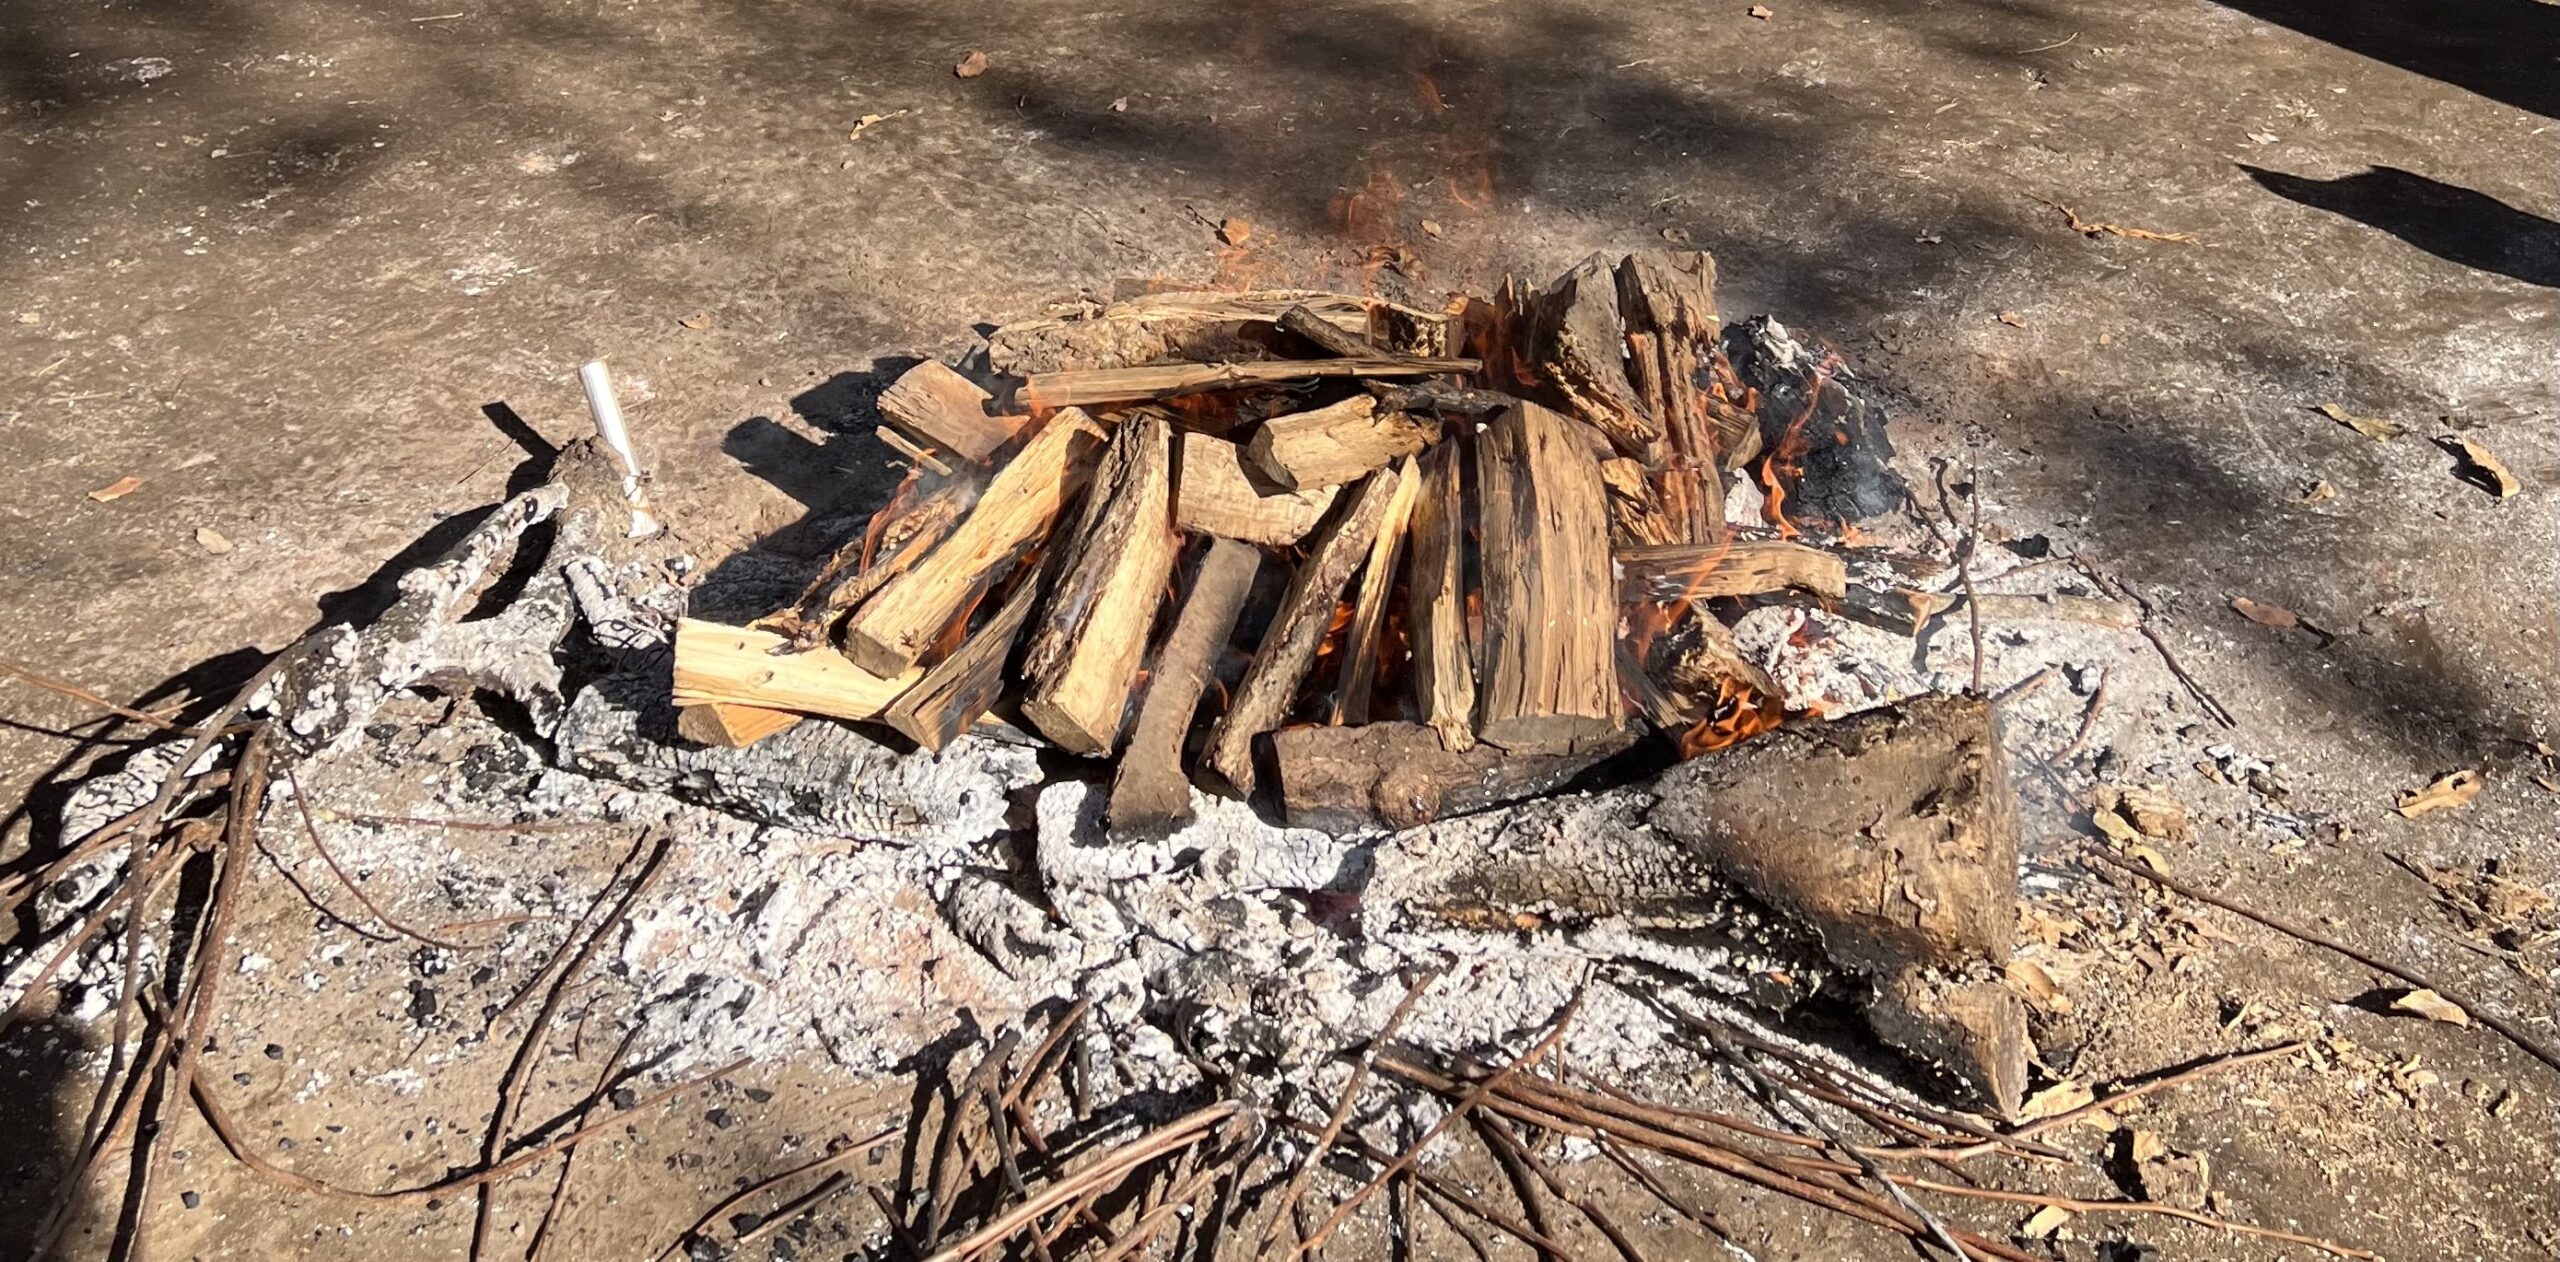
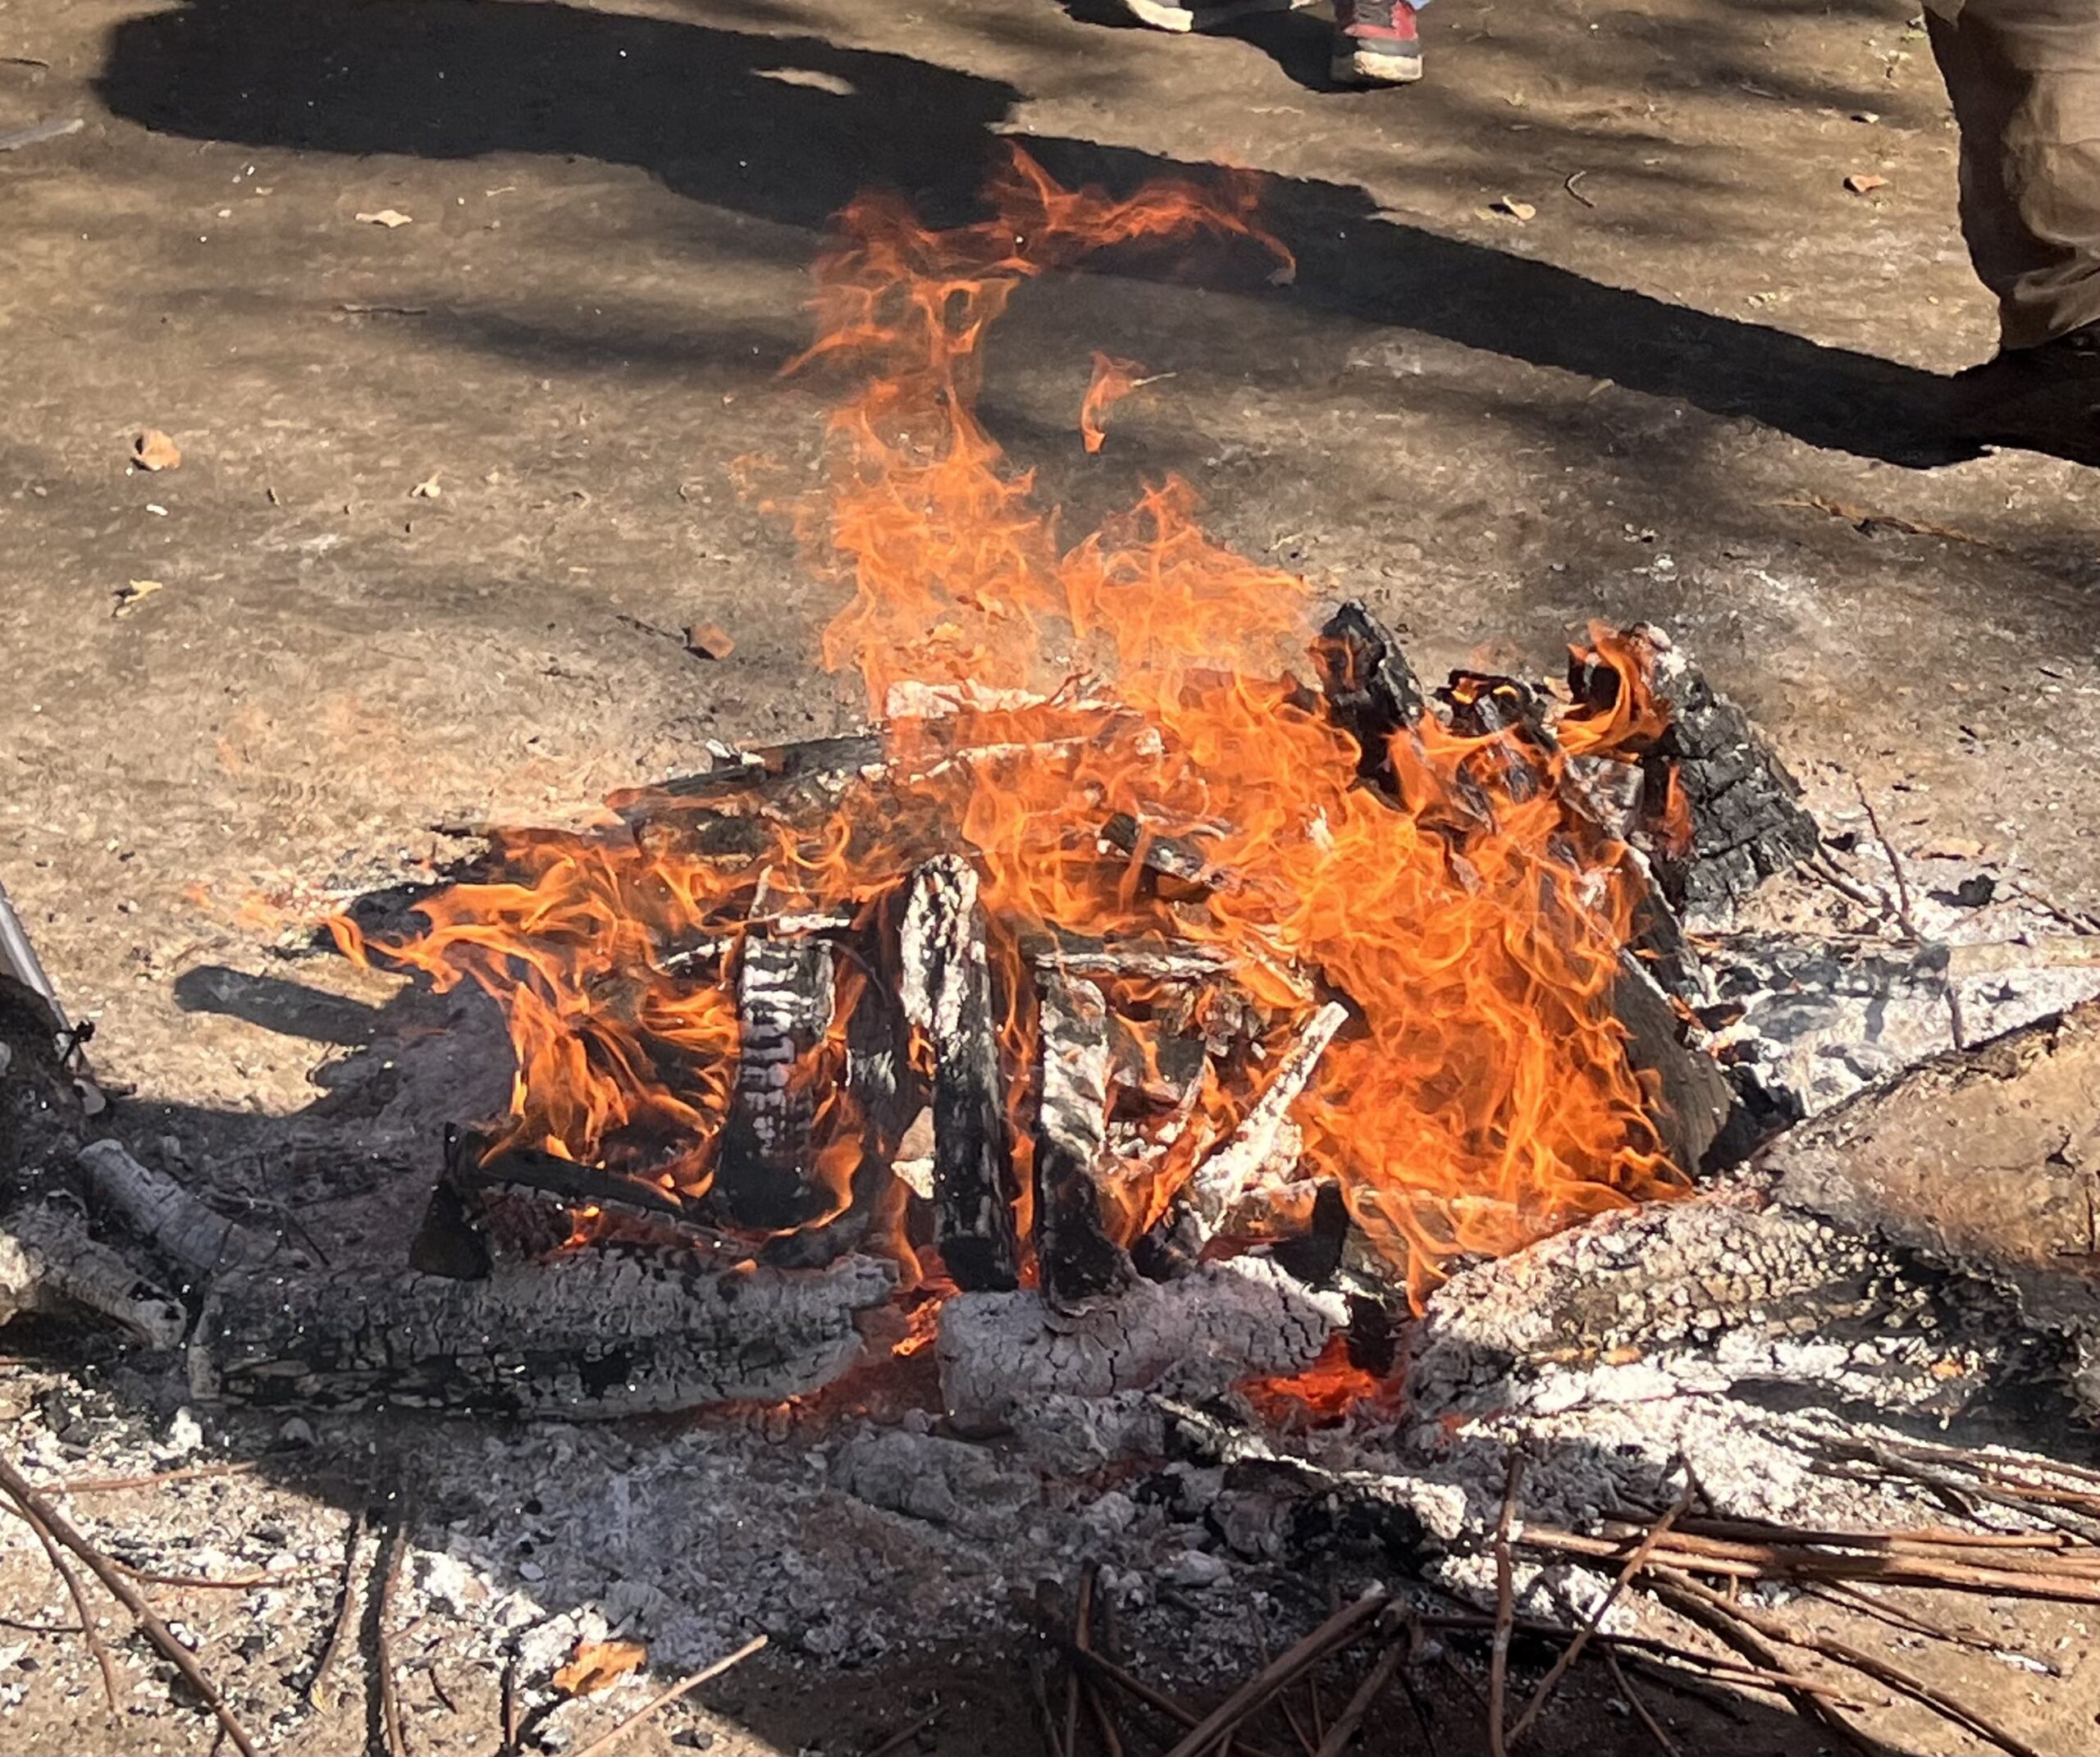
The flames gradually spread to the wood, so it’s fired at 600–900 degrees all at once.🔥
Firing Temperature for Pottery
During the Jomon period, pottery was fired at relatively low temperatures of around 600 degrees Celsius using open-air kilns, resulting in many reddish-brown pieces. As techniques for higher-temperature firing advanced after the Jomon period, it became possible to produce brown pottery that was thin and hard.
Remove when it turns reddish-brown.

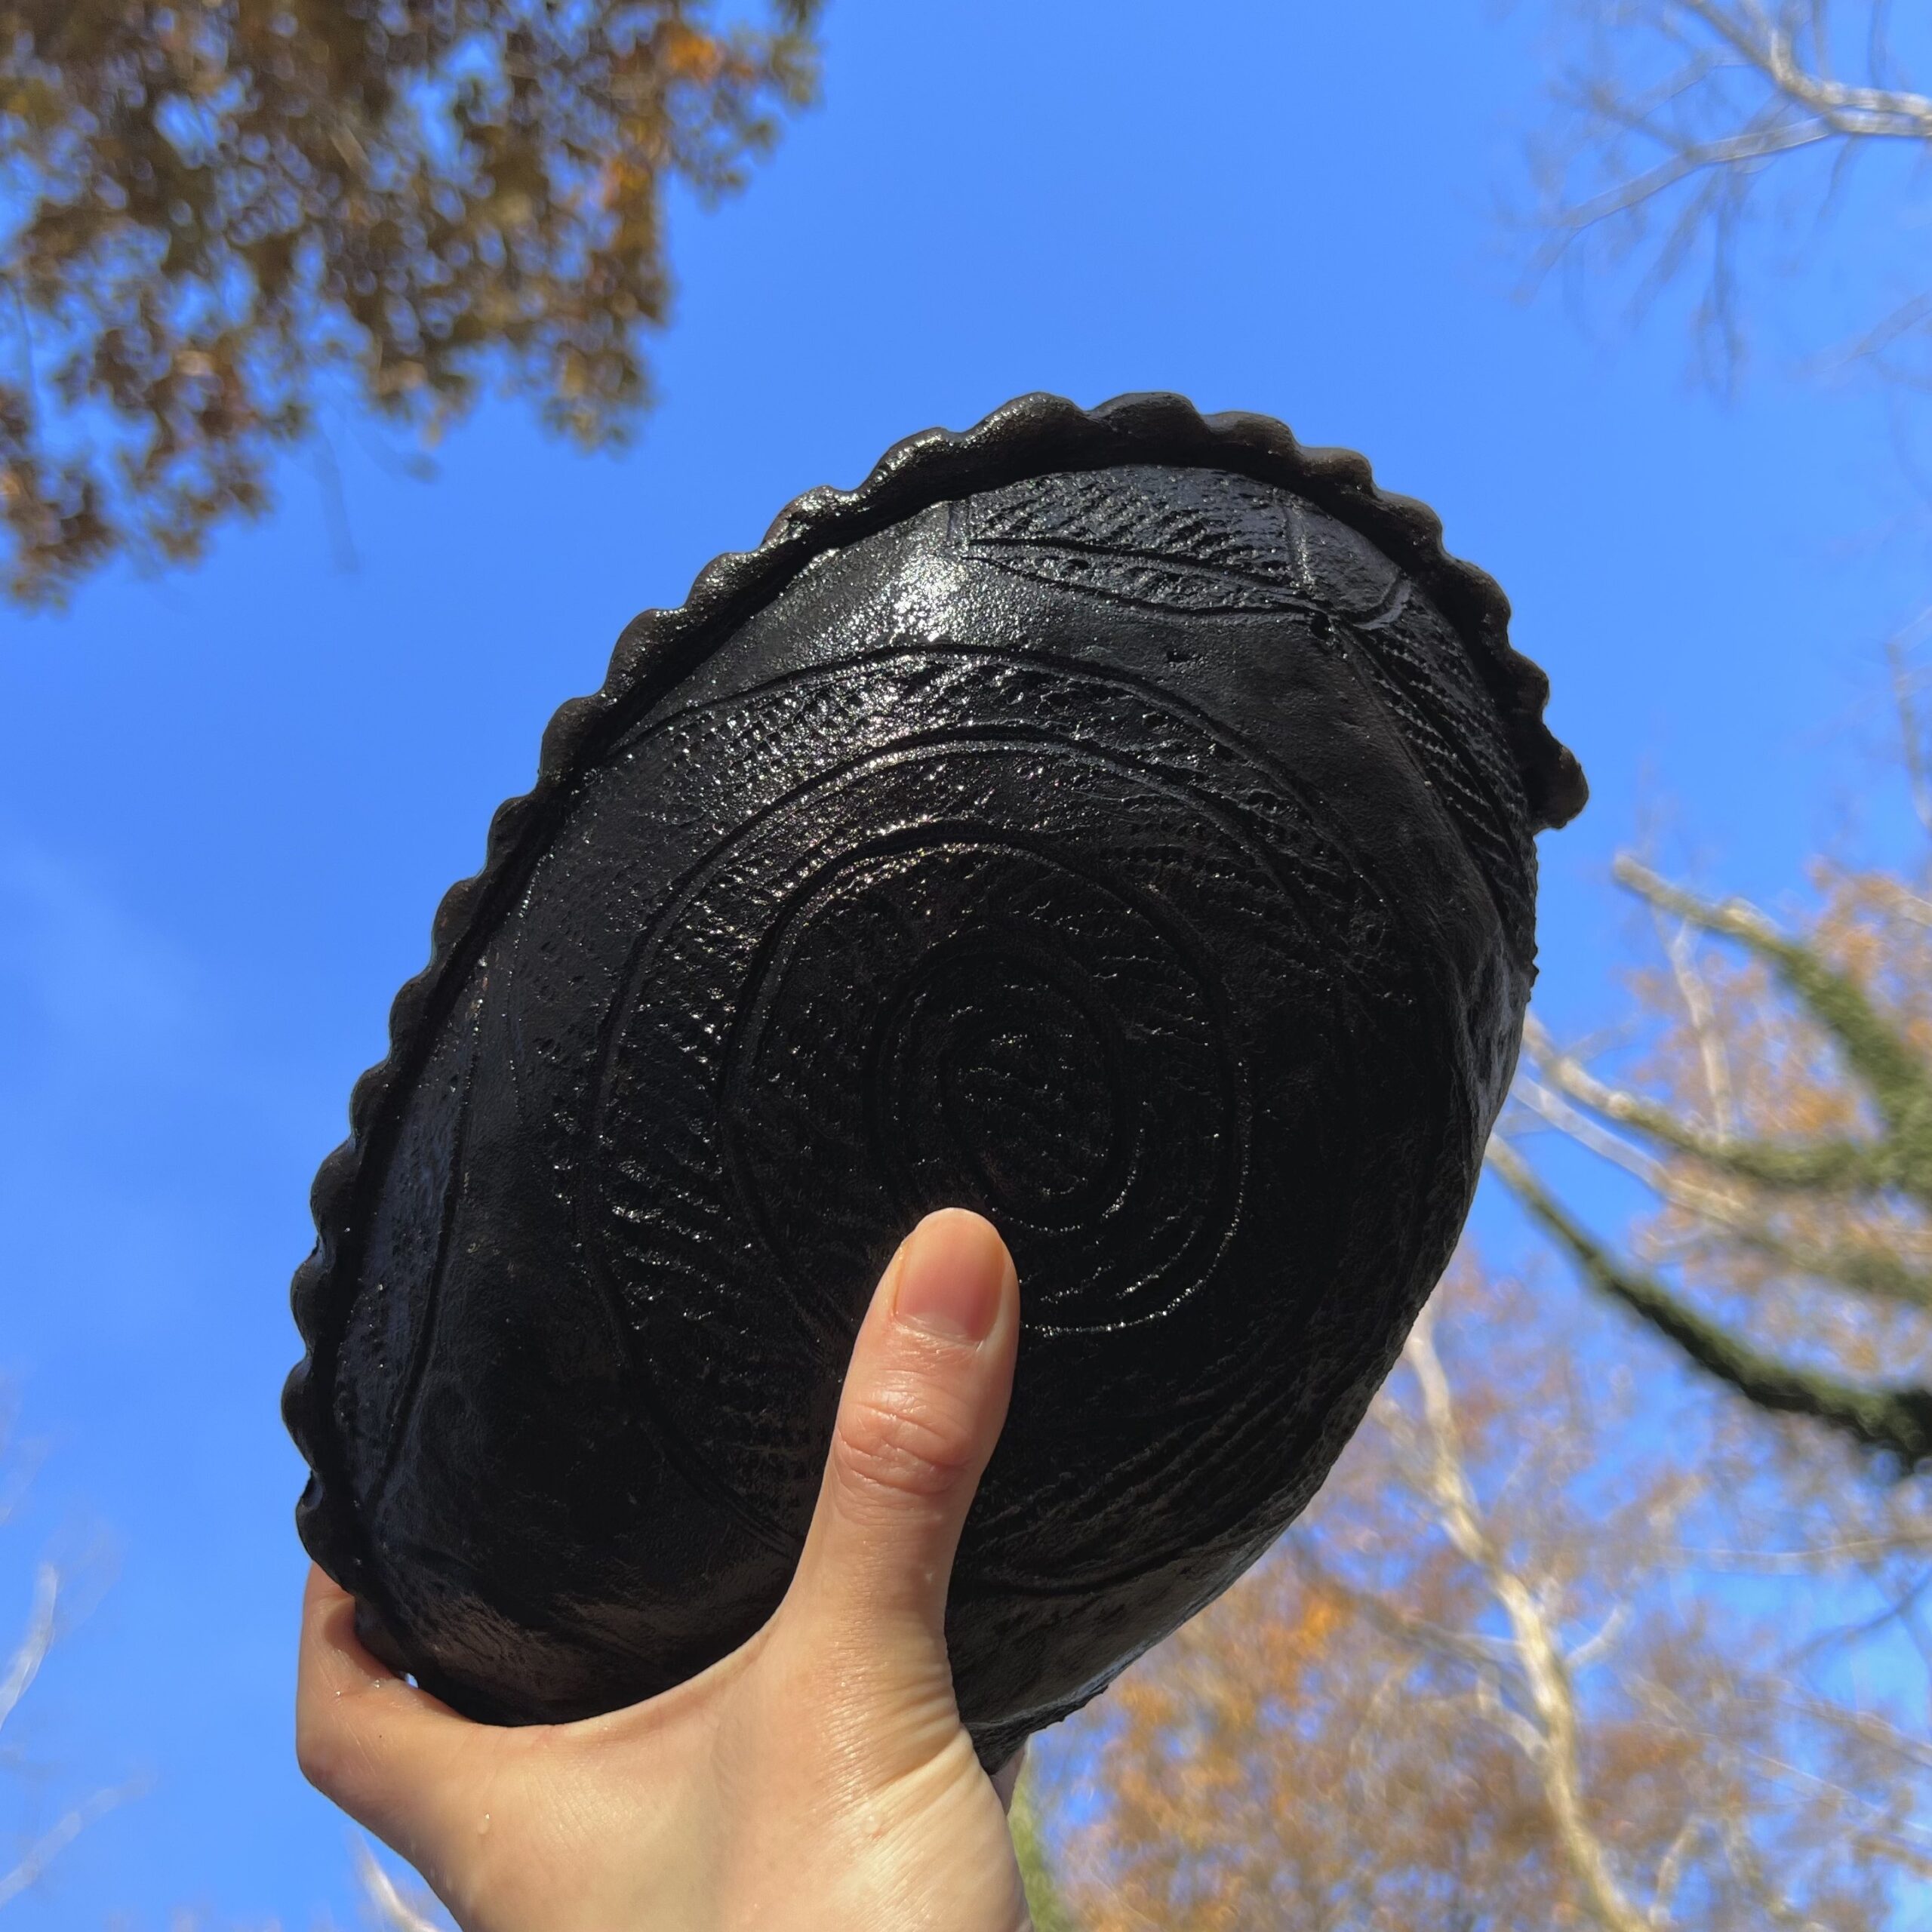
What magic! Just put it in a container with freshly rubbed pine needles while it’s still hot, and it turns black!
I made it nice and black—my Jomon pottery is complete!!
Summary
How did you find it?
Making Jomon pottery presented challenges with its complex process and specialized tools. Yet, I managed to create it using methods close to those of the Jomon people themselves, making it a deeply satisfying experience!
I hope you find a great Jomon pottery-making experience and enjoy your Jomon activities! ♪
👇Check out this article for events where you can try your hand at making Jomon pottery.

👇Beginners, start here! Use the Jomon Pottery Excavation Set for your independent study project!
👇For children who think the Jomon period might be too early… how about something like this? It can be used for free research projects and is also practical. ^_^
Articles may contain advertisements (PR).
